No matter if you ride a mountain, road, gravel or urban bike, one of the most common mistakes in cycling is not having the right tire pressure. Sometimes by excess, thinking that with a lot of pressure we will ride faster, or due to a misconception that tires are airtight and only lose air when we get a puncture. This is not the case. Rock-hard tires do not always mean higher speed and, for safety reasons, you should always check that they have the right pressure according to the cyclist’s weight and the width of the wheel, among other factors. But let’s not get ahead of ourselves and start with the basics:
The basics
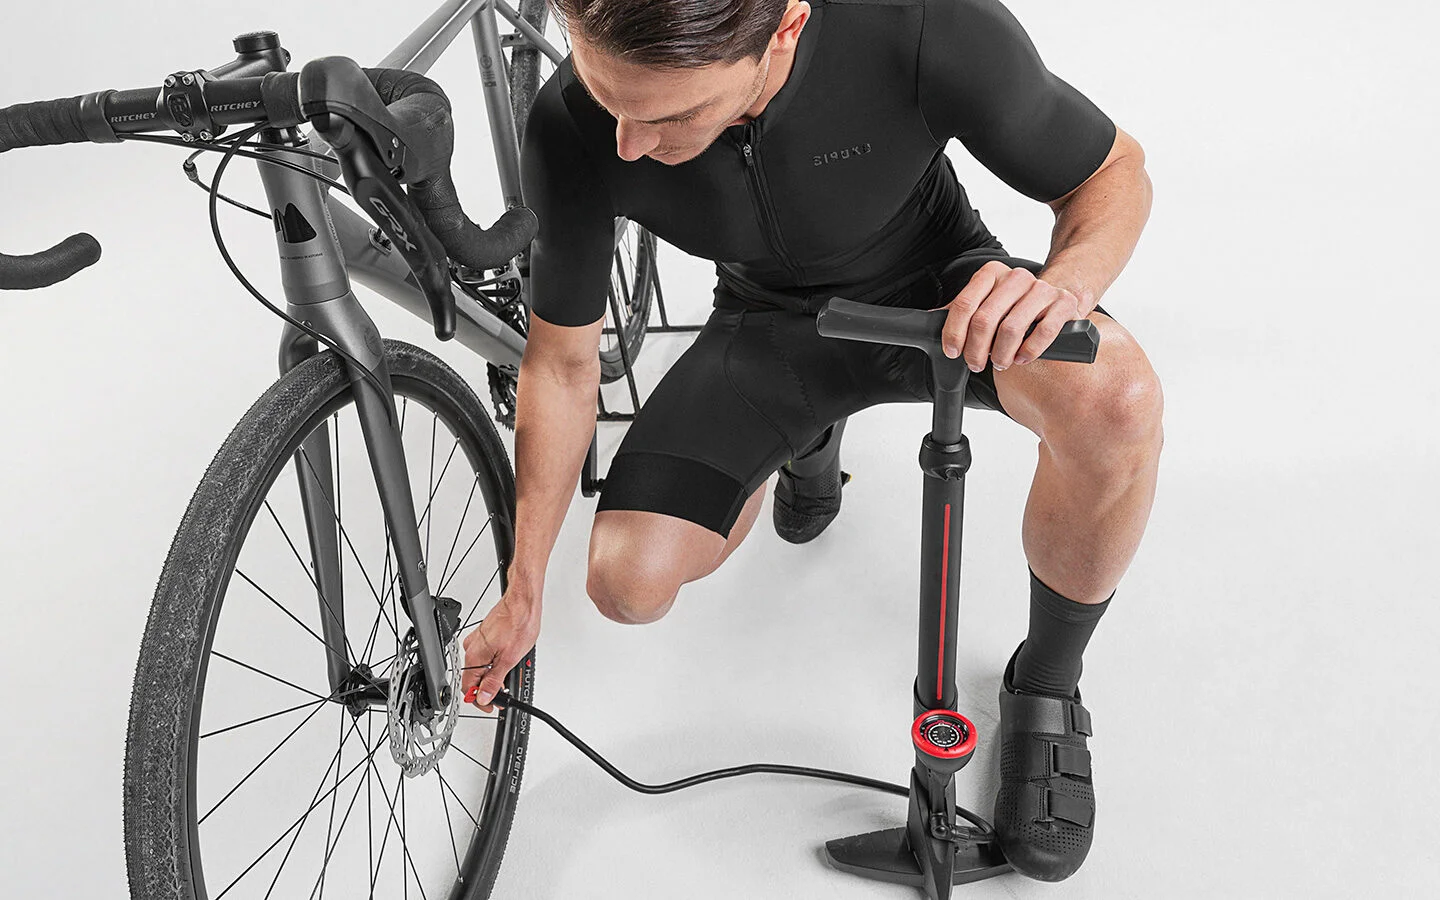
To know the tire pressure you need a pump that has a pressure gauge or, better yet, a separate analog or digital pressure gauge, as many pumps are not 100% accurate as they measure the pressure in the pump, not in the tire.
The two most common pressure measurement units are: PSI and bar. We will always refer to PSI. You will find a conversion chart for both units below:
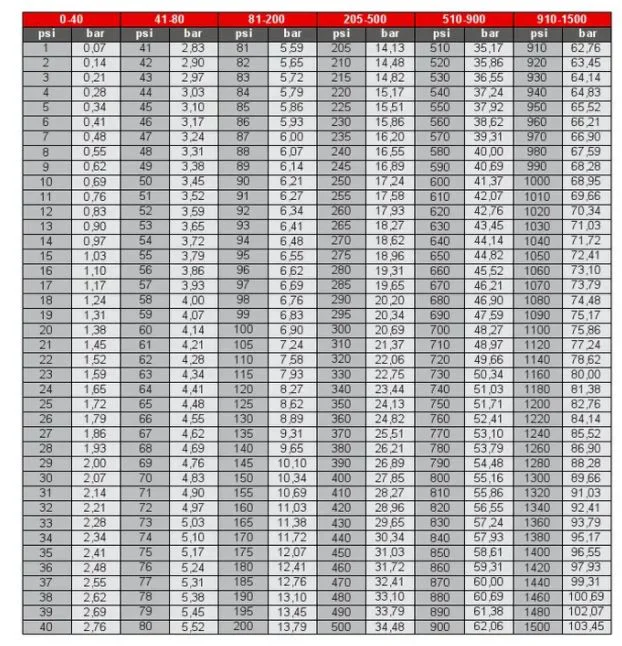
All tires have the pressure range or maximum pressure recommended by the manufacturer (in PSI and/or bar) marked on their sidewalls and/or rims. For safety reasons, the recommendations are usually quite restrictive, but it is still advisable to follow them to avoid problems.
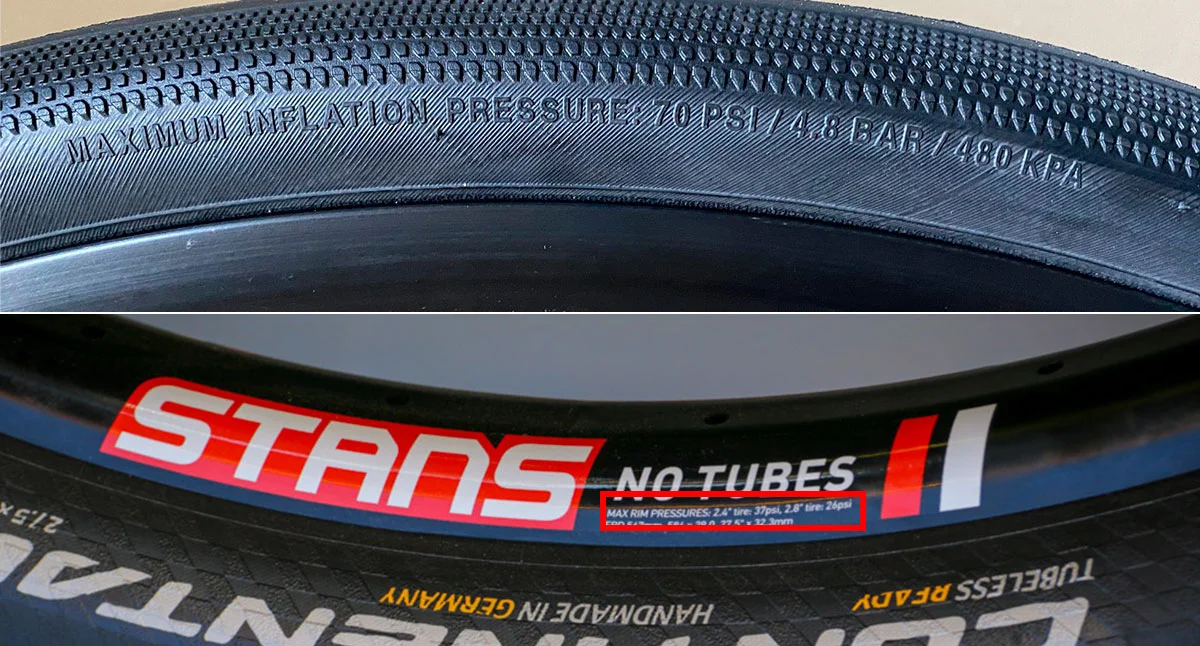
If there is no information on the sidewall and/or rim, here are the recommended pressures for a cyclist who weighs 70 kg:
| BIKE TYPE | TIRE WIDTH | FRONT CLINCHER TIRE | BACK CLINCHER TIRE | FRONT TUBELESS TIRE | BACK TUBELESS TIRE |
| Road bike | 25 MM | 90 PSI | 93 PSI | 80 PSI | 83 PSI |
| Urban/hybrid bike | 35 MM | 50 PSI | 55 PSI | 38 PSI | 40 PSI |
| Gravel bike | 35 MM | 48 PSI | 50 PSI | 36 PSI | 38 PSI |
| MTB 29” | 2.1” | 36 PSI | 38 PSI | 26 PSI | 28 PSI |
These figures are approximate. The optimal pressure depends on several factors that we are going to look into below.
Factors that affect optimal tire pressure
Although there are more, let’s delve into six main ones:
- Tire width
- Tire casing
- Tubeless system
- Cyclist’s weight + equipment/luggage and its distribution
- Terrain
- Weather and temperature
Tire width
The wider the tire, the less pressure it needs. Let’s explain it quickly: Pressure is a measure of the force exerted by a weight on a surface area. In this case it is the air inside the inner tube or tire. If you increase the surface area (wider tire), you need less pressure (the force of the air inside pushing outwards) for the tire to seat correctly on the rim, which is obviously the most important thing.
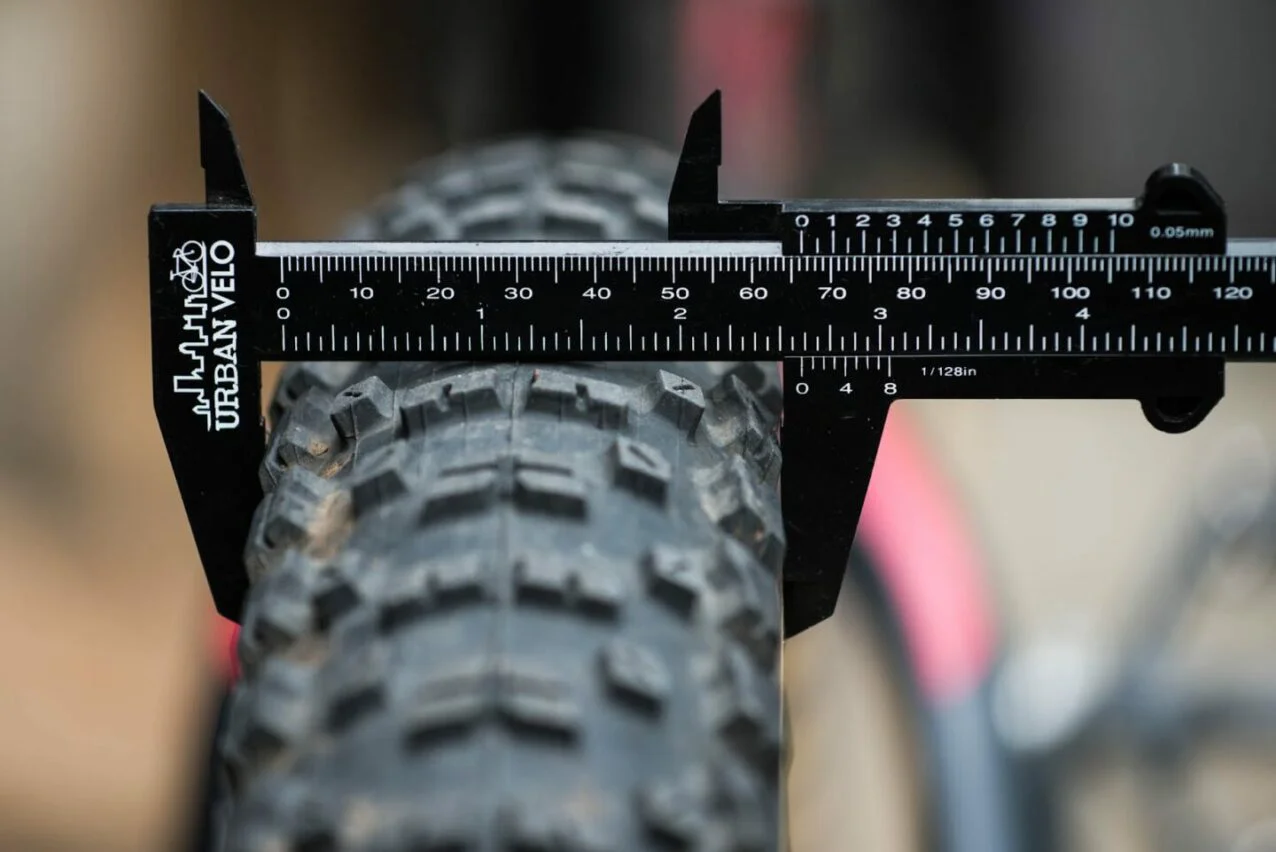
This means that if you go from 25 to 28 mm on the road bike or from 2.1″ to 2.3″ on your MTB, you need less PSI. But how much less? There is no exact number but somewhere around 10% less than the ideal pressure.
Tire casing
Tires with casings made of materials such as cotton or those with a high TPI weigh less and are more flexible and faster. Low-TPI tires are heavier, stiffer and slower, but last longer and offer better puncture resistance. Now, logically, you can imagine that a high-TPI tire will perform better and puncture less with more pressure. On the other hand, low TPI allows you to reduce PSI in order to gain traction or damping without risking punctures.
Tubeless system
With tubeless tires, you can run lower air pressure for more grip and comfort, without worrying about snakebite flats. You also avoid the friction between tube and tire, which at the same PSI makes a tubeless tire faster.
Cyclist’s weight + equipment/luggage and its distribution
You don’t have to be a world-class physicist to understand that our weight, and everything we carry on the bike, is an important factor in finding the optimal tire pressure. The heavier the rider, the higher the tire pressure should be. For about every 5 kilos of weight, add or subtract 2 PSI for road bikes and 1 for MTB, hybrid and gravel bikes, but always within the min. and max. ranges recommended by the manufacturer.
Rider’s position on the bike also means that the rear wheel carries about 60-70% of the total weight. Therefore, make sure you run the front tire pressure lower than the rear tire pressure. It should be around 2-3 PSI less, but it also depends on your position, discipline and riding style.
Terrain
On paved, straight roads, the pressure can be as high as our tire and weight indicate. The problem is that perfectly smooth roads are not that common. If we do not want to feel every bump, thus losing efficiency and comfort, it is better to run between 90-100 PSI. This way the tire is faster and more comfortable because it absorbs the bumps and small vibrations better, and you have more grip on the curves.
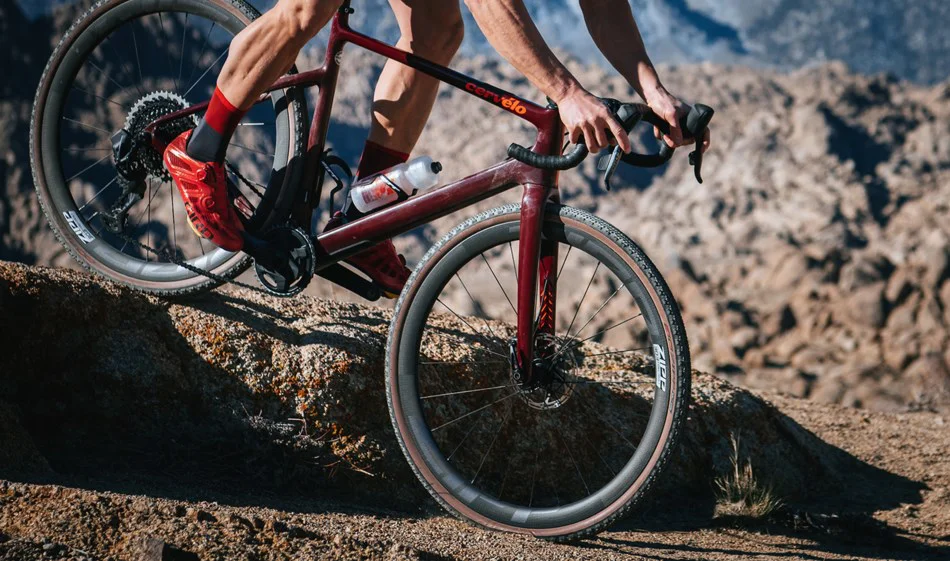
It gets trickier on MTB or gravel as the terrain can be very varied. We can only suggest trial and error. It is better to start off with more pressure so you can reduce it later, seeing how it feels and learning how much PSI each terrain requires. The key is to look for a balance between avoiding punctures, having enough grip and riding comfortably without compromising speed.
Weather and temperature
You probably already know that in wet conditions you should lower the tire pressure a little, but don’t overdo it. 2-3 PSI is enough, if you already had the right pressure for your tire, weight and terrain. If you overdo it, the tire may become unstable and lose grip instead of gaining it. In addition, the risk of puncture increases, especially on clincher tires.
In muddy conditions, a tire tread pattern with high, fat and spaced lugs is as important as lowering the pressure.
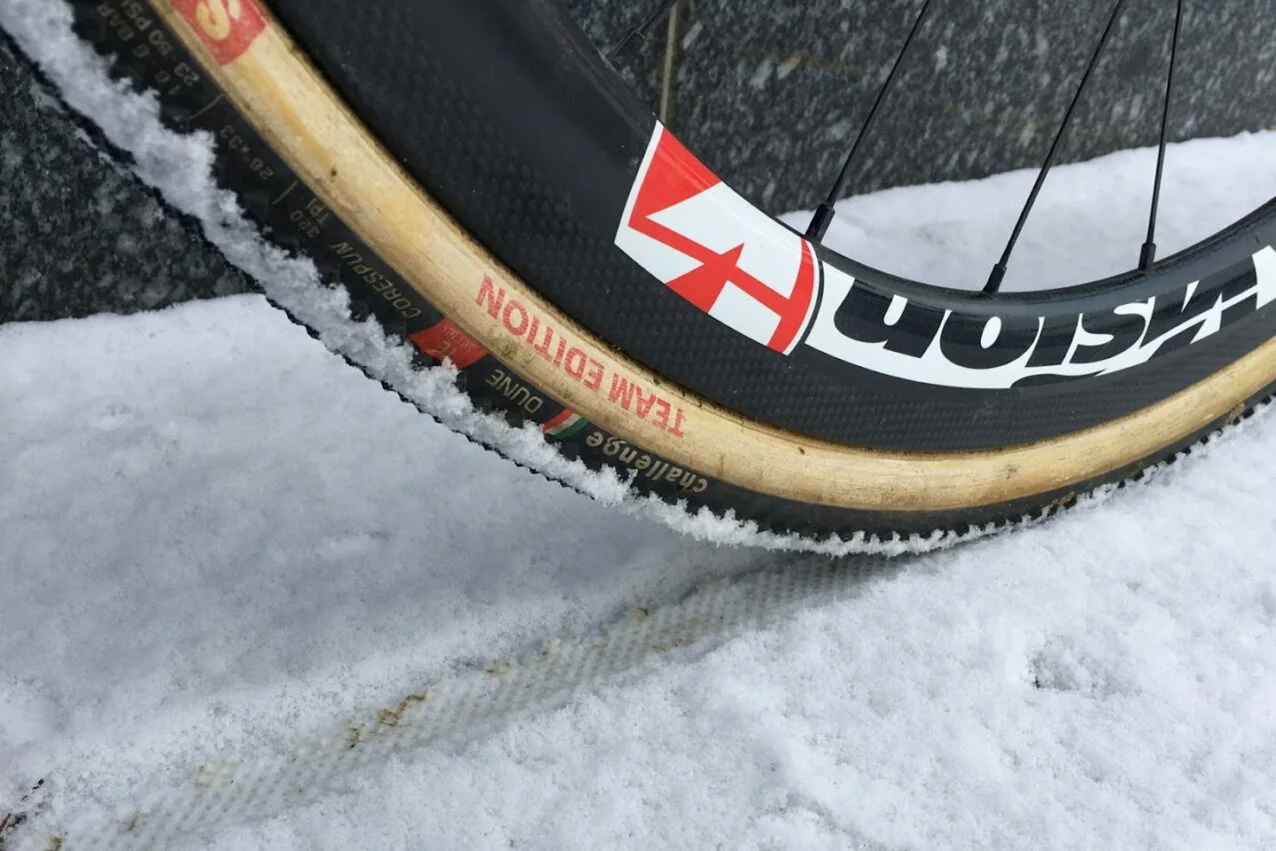
Temperature also plays an important role here. Especially when there are extreme differences between indoors and outdoors. The warmer it gets, the higher the pressure gets, and the other way around. For every 5 °C or 10 °F you will gain or lose 1 PSI. If you inflate the tires at home at 21.1 °C or 70 °F and it is 0 °C or 32 °F outside, the tires will lose about 4 PSI.
5 of these 6 factors can be found in this online calculator from Sram that helps you find an optimal tire pressure.
How tire pressure affects performance
Wrong tire pressure, either too high or too low, can lead to poor tire performance in terms of grip, comfort, rolling resistance and punctures. Since tires are the only points of contact with the ground, this poor performance is inherently transmitted to the bicycle and the rider.
We have already discussed this throughout the article, but to summarize, here are the pros and cons of running low or high pressure:
Low pressure
- Pros
- Better traction
- More grip
- More comfort
- Less rolling resistance on bumpy terrain
- Cons
- More probability of snakebite flats in clincher tires
- More wear
- More rolling resistance on asphalt and easy terrain
High pressure
- Pros
- Fewer punctures
- Less wear
- Less rolling resistance on asphalt or easy terrain
- Cons
- Less grip and traction
- Less comfort
- Loss of energy in bumpy terrain
Each cyclist must find the optimal pressure to reach the balance between grip, comfort, rolling resistance and puncture resistance. If we prioritize one aspect, we lose out on the other. And although tires, rims and all cycling equipment are constantly evolving, offering performance that was inconceivable just a few years ago, tire pressure still plays a key role. We all can, and should, experiment with different pressures in different circumstances. Trial and error, because air is free.


Pingback: What Is the Right Tire Pressure for a Mountain Bike on the Road? -
Pingback: Why Does My Bicycle Tire Keep Going Flat? Tips to Fix the Issue - Ride Foster
Pingback: How Much Air Should You Put In Your Hybrid Bike Tires? [ Updated May 2023 ]
Pingback: Was ist der richtige Reifendruck für ein ATV auf der Straße? - CycleTravelOverload
Bla-bla-bla … but still no answer to what I should pump my tires to. 🙁
Trial and error, air is free!
Pingback: Bike Tire Pressure For Different Terrain & Riding Conditions
Pingback: Road Bicycle Tire Pressure - eBikeAI
Pingback: How Quickly Do Bike Tires Deflate? Factors, Rates, and Prevention Tips
Pingback: How to Put Air in Bike Tires - eBikeAI
Pingback: Tire Pressure Bike Chart - eBikeAI