Having previously talked about the power meter, how it works and the different types in this basic guide, we’re now jumping back on this topic to bring this tool closer to any cyclist ready to take on a challenge, and move on to more intense workouts. Whether you want to start using a power meter to better understand your body or to improve your performance, here are the basic steps you should follow:
Installation and zero-offset calibration
Follow the instructions from the manufacturer closely in order to install the power meter correctly. Once installed, you should perform a zero-offset calibration. This step is crucial to receive precise data, and if you don’t do this regularly it could lead to data imbalance, resulting in training either too much or too little. By applying zero-offset calibration, all data from previous workout sessions gets reset, such as weather conditions, indoor training, etc. Do this calibration before every outing.
Perform a Functional Threshold Power (FTP) test

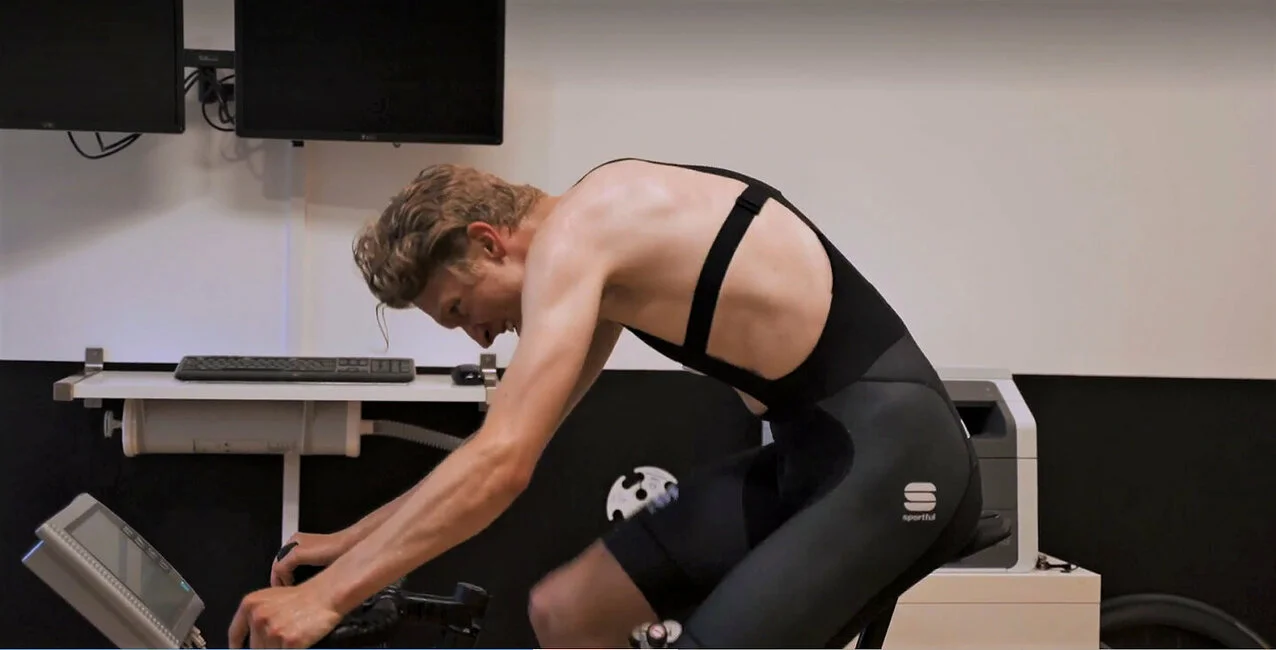
The FTP test is an assessment to know the maximum amount of energy you can reach during constant intense exercise. This test is usually performed on an indoor trainer or on a long, constant climb, and consists of a warm-up followed by 20 minutes of maximum effort exercise. The highest average power sustained within those 20 minutes multiplied by 0.95 will be an estimate of your FTP. This number will help you choose your training zones accordingly.
Calculating your training zones
Now that you have your FTP, you can use it to calculate your personal power training zones. These zones represent different ranges of energy related to each different level of effort:

Zone 1 – Active Recovery: Less than 55% of the FTP. Training in this zone means easy workouts and an active recovery. It promotes an increase in total training volume without being too demanding on your body.
Zone 2 – Aerobic Endurance: 56% to 75% of the FTP. This zone is for low-intensity endurance workouts, the foundation of cycling training. Focusing on this zone improves metabolic efficiency and increases endurance capacity.
Zone 3 – Tempo: 76% to 90% of the FTP. This zone helps improve the ability to maintain an intense rhythm for longer periods of time. It is considerably more intense than zone 2, but still considered aerobic training.
Zone 4 – Lactate Threshold: 91% to 105% of the FTP. In this zone, you’re training within your FTP (or very close to it), which can help increase this threshold. Focusing on this zone improves the capacity to maintain high-intensity, short-term effort.
Zone 5 – VO2 Max: 106% to 120% of the FTP. In this zone, you’ll be training above your FTP, which improves anaerobic capacity and the ability to maintain and recover from intense, short-term effort.
Zone 6 – Anaerobic Capacity: More than 120% of the FTP. This zone is for maximum intensity, only used for short-term effort, such as sprints. Training in this zone improves maximum power and performance on effort ranging from 30 seconds to 3 minutes.
Zone 7 – Neuromuscular Power: More than 150% of the FTP. This zone would include maximum effort in extremely short periods of time, such as full-on sprints up to 30 seconds.
Plan your workouts

Now that you have these power zones as reference, you can create your own training plan and work on different areas to improve your performance as a whole, while also working on your weaknesses. For example, a long and constant training session in zone 2 to improve endurance, or interval training in zone 4 to increase your FTP.
Data analysis
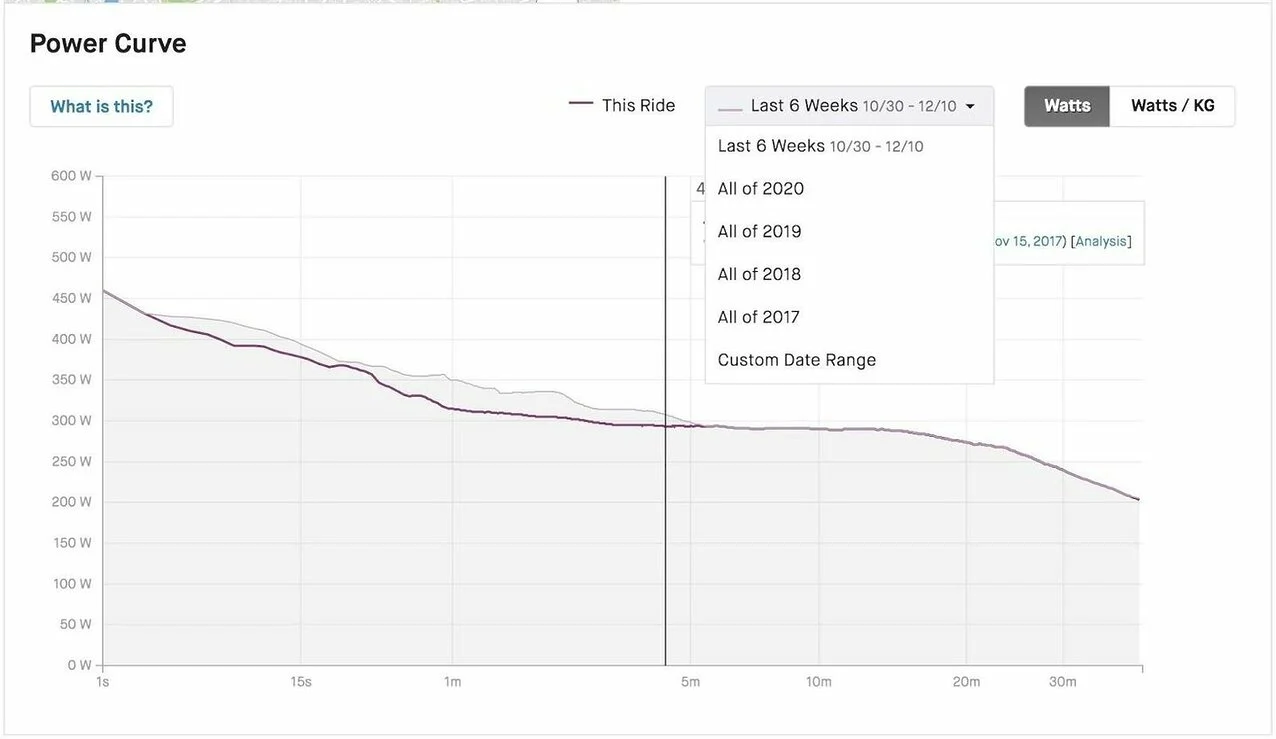
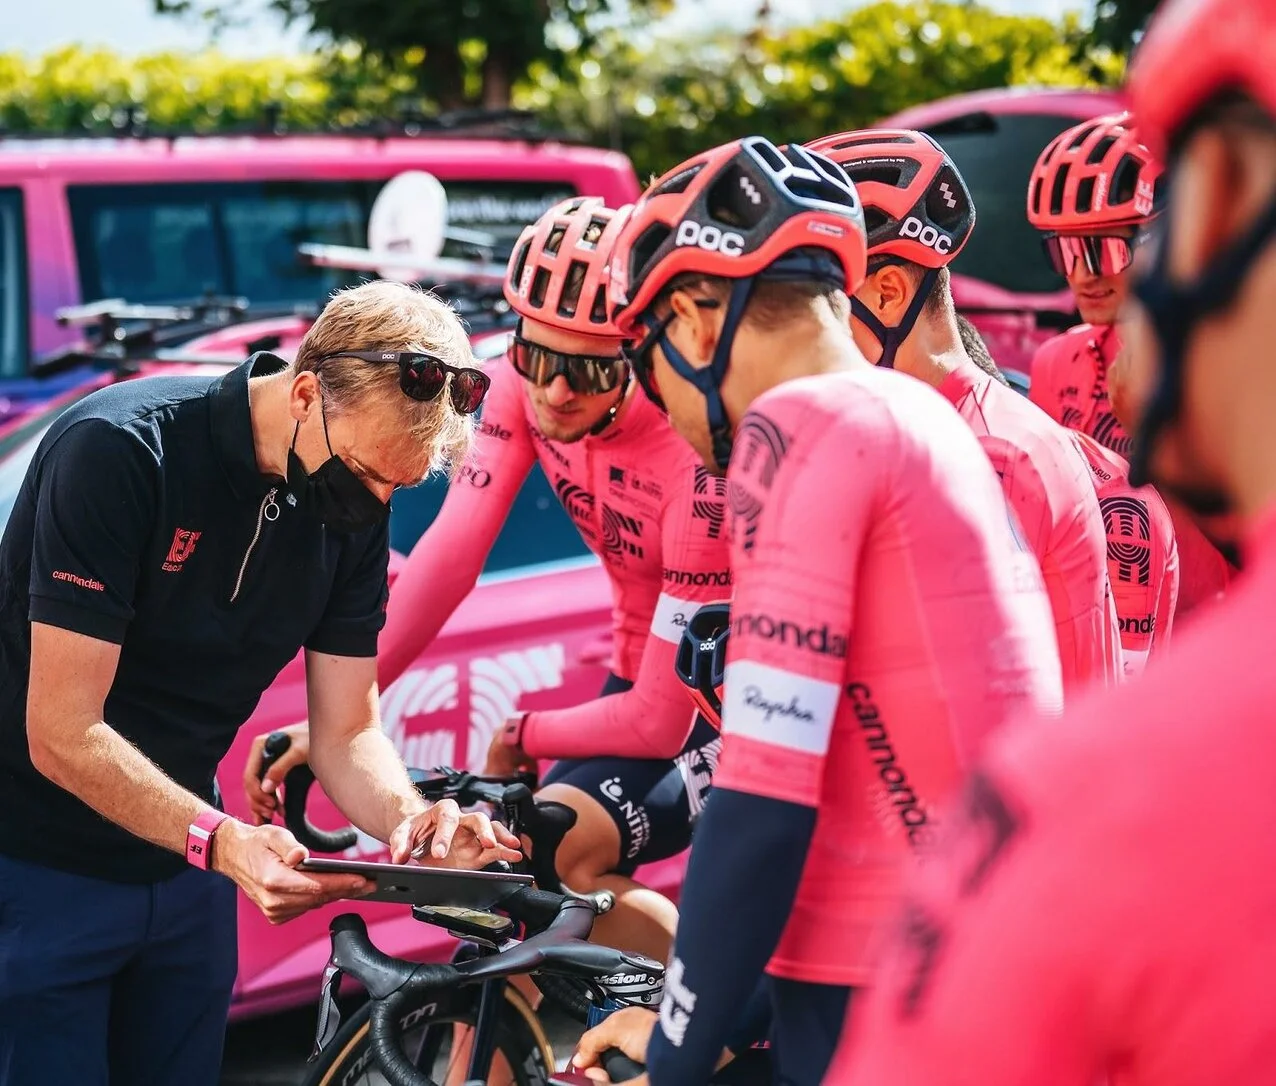
After each training session, you can analyze the data to check within which zones you’ve been working, how much time you spent in each one, what goals you achieved and how you felt. This overall review (data + how you feel) allows you to adjust your zones and your training plan accordingly. There are several software programs (free and paid) that can help you analyze this data, and most of them come directly from power meter and cycling computer manufacturers. Naturally, the deeper the analysis the more expensive and more complex these softwares are going to be. Specific knowledge and a deeper understanding of such data are crucial to make the most out of this kind of software, and this is the field for professional trainers or cyclists who are really into science and data analysis.

As you keep on training, you should feel your FTP increasing, which means you can sustain more power for longer periods of time. If that isn’t the case or you feel something’s wrong with your body, then an adjustment is needed. The problem could be rooted either in the power meter itself, in a wrongly performed exertion test, an inadequate training plan, or your diet and resting habits.
Reassess your FTP regularly
It is advisable to do the FTP test every now and then, every 6 to 8 weeks for example, in order to keep track of your performance. You should always do this test in the same way you did the first one, and it is advisable to use the indoor trainer in order to avoid any variables that come from doing the test outside.
Average power vs. normalized power
Average power is the result of the power generated on a ride divided by the total duration of said ride. All power values have the same importance: This means that the power generated when you ride or stop, and the power generated during a sprint are equally as relevant.
Normalized power is slightly more complex, as it also takes into account variations in intensity, therefore giving more value to the most intense sections of your training. This is done using algorithms. For example, a route with a lot of climbs and descents, where power fluctuates greatly, will be physiologically more demanding than maintaining a constant effort, even if the average power is the same for both.
Having said all this, using a power meter might seem a bit complex at first glance, but it is actually quite simple and progressively cheaper. It is a very useful tool that allows you to: objectively measure your own effort and progress, know yourself better, customize your training sessions, optimize your time on the bike, maintain a constant and sustainable rhythm, know how much power you’re using and what type of diet you should follow.

In conclusion, a power meter can be a good investment, but it is crucial to remember that, just like any other tool, it should be used correctly. Don’t get obsessed with data and numbers while failing to listen to your body and your mind. We are complex beings after all, and that means our lives, our environment, and everything we do or think about during the day will affect the data anyway. You should always make sure to have enough rest, and fuel your body with all the nutrients it needs to keep on functioning and training — and sometimes it is better to rely on professionals’ help. Sure, we do not need to hire a personal trainer to use the power meter, but just like learning to play an instrument by yourself is not the same as going to class with a music teacher: you’ll save time and get the most out of this tool with the guidance, advice and corrections of an expert. You might only get to ‘play a few chords’ at first, but you’ll end up rocking your ‘Stairway to Heaven’ up to the Tourmalet in no time.


Pingback: Power Meter for Stationary Bike - eBikeAI